
WordPress Updates giving more new features but sometimes it becomes a headache for content writers and developers. People got practised with the core functionalities and interface, during that time if an interface is changed then it will take time to learn and do the same process.
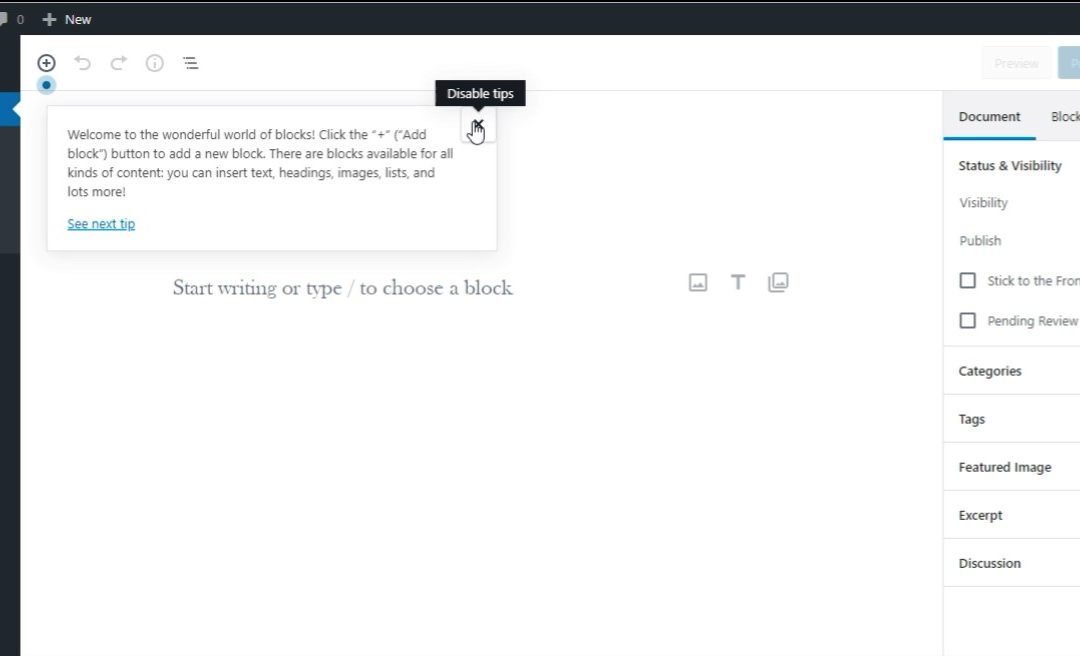
For example: Recently WordPress released the latest version with the updated editor and UI which looks similar to the free WordPress blog interface. So as the people were very familiar with the old interface, a sudden change will consume more time to publish a post and it increases their TAT. So such update is not welcomed by most of the blog writers.
In this case, people used to revert back their WordPress to the previous version which is much comfortable than this. Most of them would like to revert back but they don’t know how to do that. In this article, I have explained to you the steps involved in revert back WordPress to an older version. You can use the same steps to reinstall WordPress or to upgrade for the latest version.
Alternative Method for WordPress UI
If you are looking to revert back your WordPress to the previous version because of the UI update, then here is the alternative solution for this problem. WordPress User Interface is getting changed on each update and the editor is classified into two names as Classic Editor and Block Editor.
You can bring back your classic editor just with the installation of a single WordPress plugin. It will not change the entire interface but only the editor section. It is not recommended to use the older WordPress version as it may have some bugs in it. So we recommending this solution which may help you to use the latest WordPress version with the previous editor version.
Steps to Install Classic Editor WordPress Plugin
- You must have admin access on your website to install the plugin.
- You can download the plugin & upload it or else you can directly search for the plugin “Classic Editor” on the Add new plugins section.
- To download the Plugin manually you can check – Classic Editor WordPress Plugin
- Once you Install & Activate the plugin you will find an option like “Switch Editor”.
- Block Editor – The default updated WordPress editor section.
- Classic Editor – Previous Editor Interface.
You can choose the editor which is comfortable for you at that moment. If you are not interested with this plugin, you can check the below steps to move your website from the latest WordPress version to the older version with easy to use interface.
How to Restore/Revert WordPress Version?
Prerequisites to Revert Back WordPress Version:
The requirements to perform this action is very less and it is a simple process as well.
- cPanel Access of that Website.
- You want to get access from your Web Hosting Provider.
- WordPress Version ZIP File.
- You can check the version details & pick the Right one for you.
Steps to Restore/Replace the WordPress
Login to your cPanel Account & follow the below steps to restore the WordPress Version.
- Back Up your Old Files
Before performing any important changes, it is very much important to take and store the backup. During this process, it is enough to take backup of the public_html folder. Either you can download it or else you can create a new folder & move all the files to the New folder. You can download the files only in a compressed format, so compress the folder public_html and download it to your local machine. If you are doing the process in sub-domain or Add-On domain, it will be on the respective folders. Compress the files which you want to replace.
- Upload the WordPress (Preferred Version)
Download the previous or latest version of WordPress ZIP files which you want to install. Upload the WordPress ZIP file on the respective folder. While uploading the files, you must be very careful that it is uploaded under the right path.
- Extract the Files.
Extract the ZIP file and make sure it is extracted on the correct folder. Sometimes WordPress zip file will get extracted to a folder called WordPress. So if it gets extracted as a folder, then move all the files from the WordPress folder to the main path.
- Import the Contents
When it comes to WordPress or a website, the files & contents will be stored in the database. We will have Gallery, Themes & Plugin files alone in our file manager. It will be located under the folder wp-contents. We want to replace the needed files(Plugins, Themes & Uploads), else the website will not work properly.
- Replace the wp-config.php file
Configuration file connects the files with the database. In a wp-config.php file, you want to place the Database Name, Database Username & Database User Password, Path and so on. So instead of filling the credentials, it is recommended to replace the wp-config.php file from our backups. So it will make sure to connect the appropriate database.
- Check the .htaccess file
.htaccess is the main file using which we will mention the root folder & even we can restrict the things. Sometimes plugins that we use may add few codes in the file to make the configuration changes. So it is better to replace the old .htacess file that we took as a backup.
Sometimes the text contents will not give you better clarity like the video files, so below I am attaching a video on “How to Restore/Replace WordPress Files?” for your better clarification.