1. Top view is directly over the front view.
2. Side view is inline horizontally with either top view or front view.
3. A line parallel to a plane of projection will be projected on that plane as a line.
4. A surface parallel to a plane of projection will be projected on that plane
5. A line perpendicular to a plane of projection will be projected on that plane as a point.
6. A surface perpendicular to a plane of projection will be projected on that plane as line.
Principal Plane : Concepts of principal stress and plane form backbone of material stress analysis. Purpose of this video lecture is to give you a good introduction to concept of Principal stress, Principal plane and Mohr’s circle analysis.
Engineers most often wants to determine maximum normal stress induced at a given point for their design purpose. But there can be infinite number of planes passing through a point, and normal stress on each plane will be different from one another.
There will be one plane on which normal stress value is maximum, this plane is known as Principal plane ( more precisely maximum principal plane) and normal stress on this plane is known as principal stress (more precisely maximum principal stress).
Similarly there will be one more plane on which normal stress value is minimum, this is also a principal plane (minimum principal plane) and normal stress on this plane is known as Principal stress (minimum principal stress).
2 Dimensional Stress Analysis – Stress acting on a 2D element is shown in figure below
Stress boundary conditions on a 2 dimensional element
Mohr’s circle method is the most easy and convenient way to do stress analysis
The procedure to draw Mohr’s circle for above case is explained below
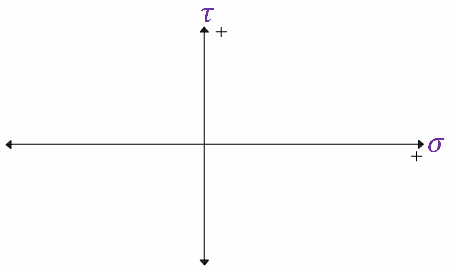
Step1 – Draw normal and shear axes with positive axes as shown
Normal and shear axes of a Mohr circle
Step2 – Mark normal stress values with sign convention, tensile stress is positive and compression stress is negative
Marking normal stress values on normal axis
Step3 – Draw shear stress values starting from already marked normal stress points.
Drawing shear stress values
Step4 – Connect end of shear stress lines
Connecting end of shear stress lines
Step5 – Draw Mohr’s circle assuming the connection line as diameter of the circle
Mohr circle construction
Step6 – Stress Analysis on Mohr circle – To get normal and shear stress values at any plane theta, take angle 2theta in Mohr circle starting from diagonal of the circle and locate a peripheral point as as shown. Shear stress value will be Y axis value and normal stress value will be X axis value.